How the LoRaWAN gateway communicates with the server
Jun . 2022
NiceRF: Demonstration of communication between LoRaWAN gateway and server
How to Register a LoRaWAN gateway
1. Go to website https://www.thethingsnetwork.org/.

2. Click SIGN UP to create an account.
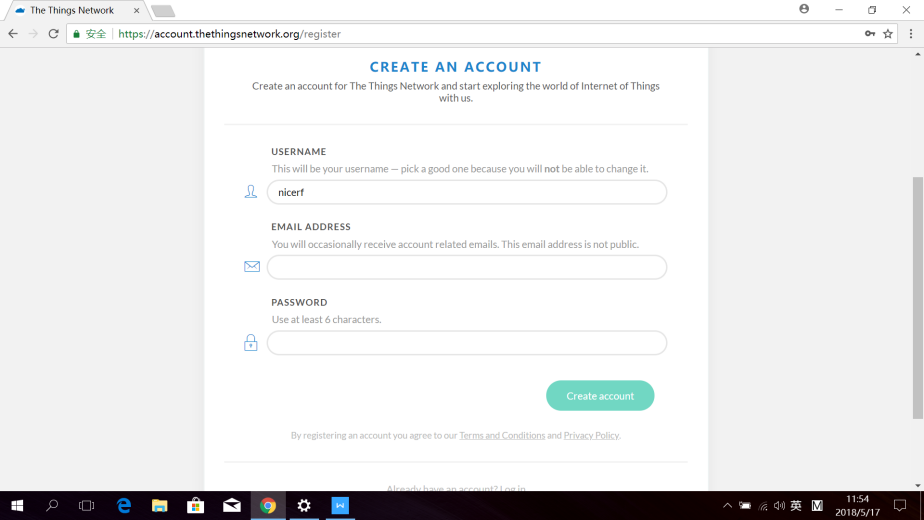
3. Login your account.
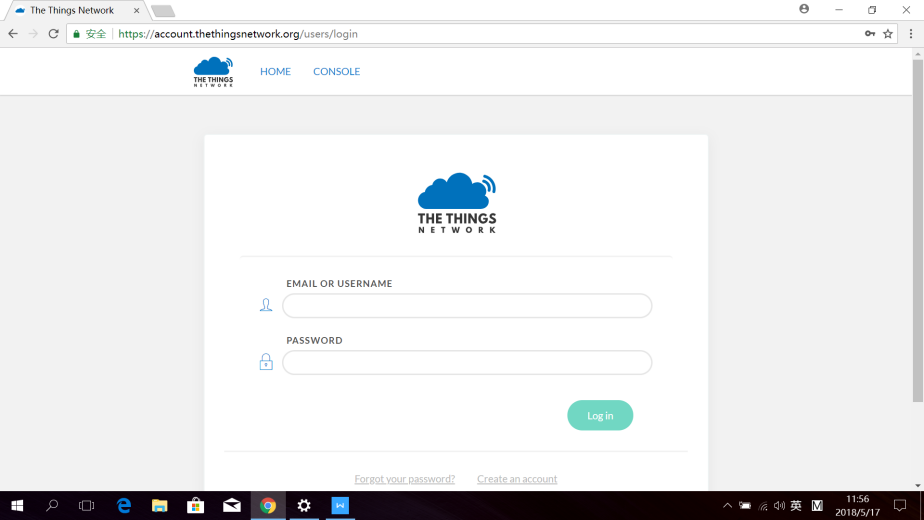
4. Click CONSOLE to change to your console.
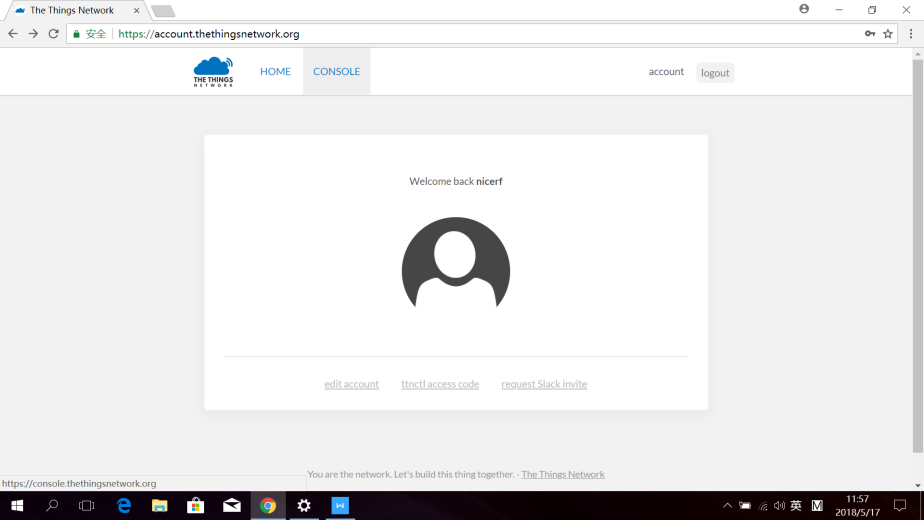
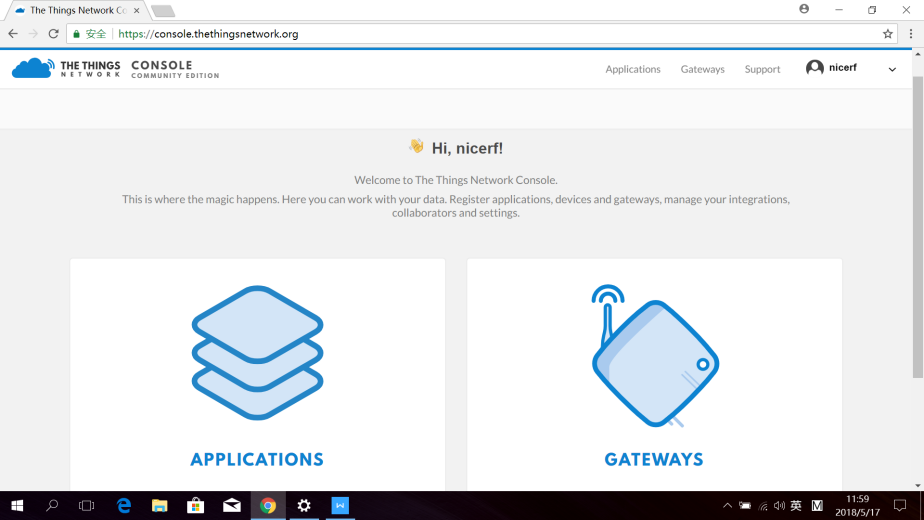
5. Click GATEWAYS to register a LoRaWAN Gateway.
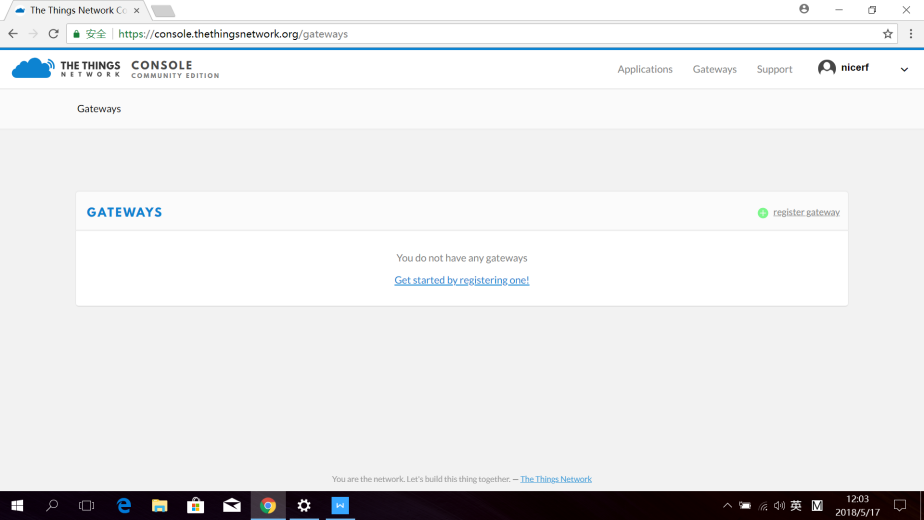
6. Click Get started by registering one!
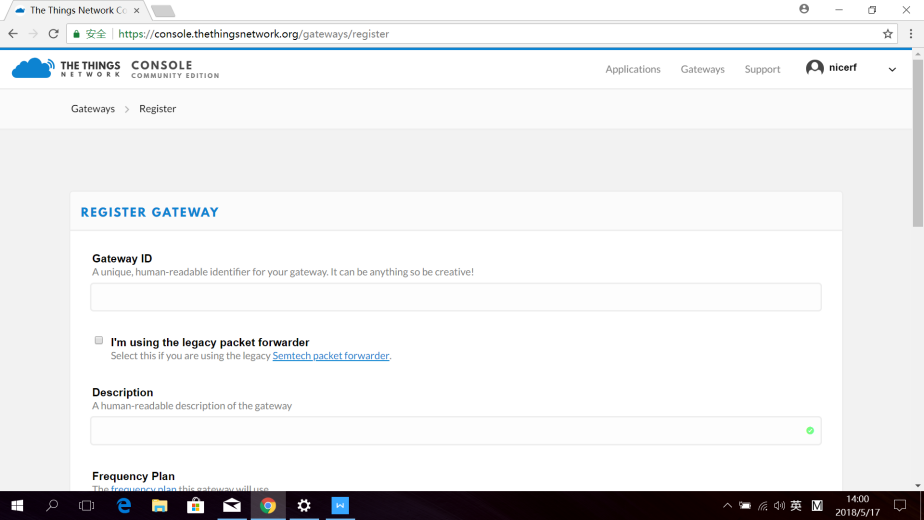
7. Make theLoRaWAN gateway to config mode and read the gateway id.
8. Input the detail to register the gateway.
- Input the gateway id.
- Check using the legacy packet forwarder.
- Write a description of your gateway.
- Select a frequency plan.
- Select a router.
- Input the location of your gateway.
- Select Antenna Placement.
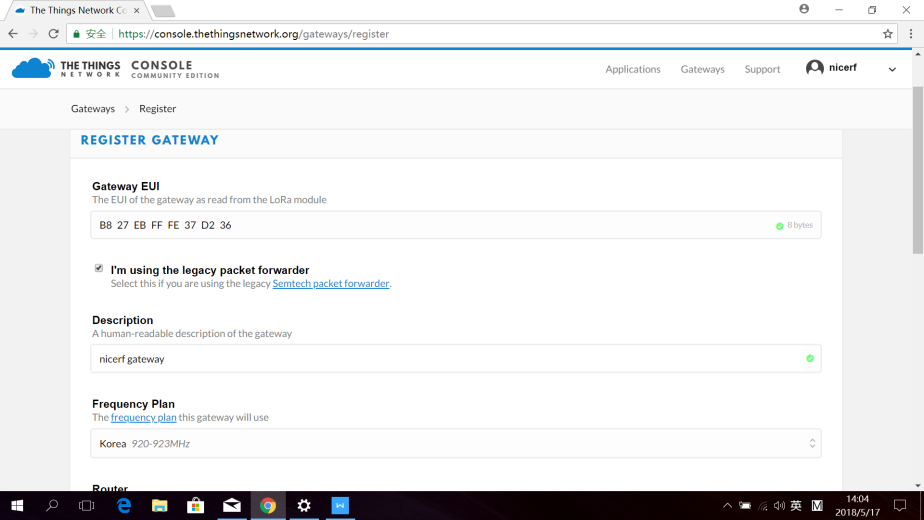
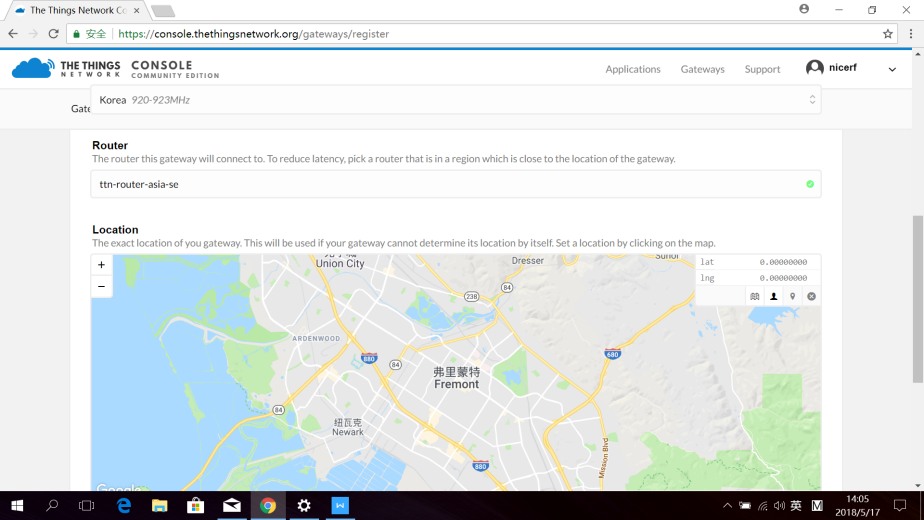
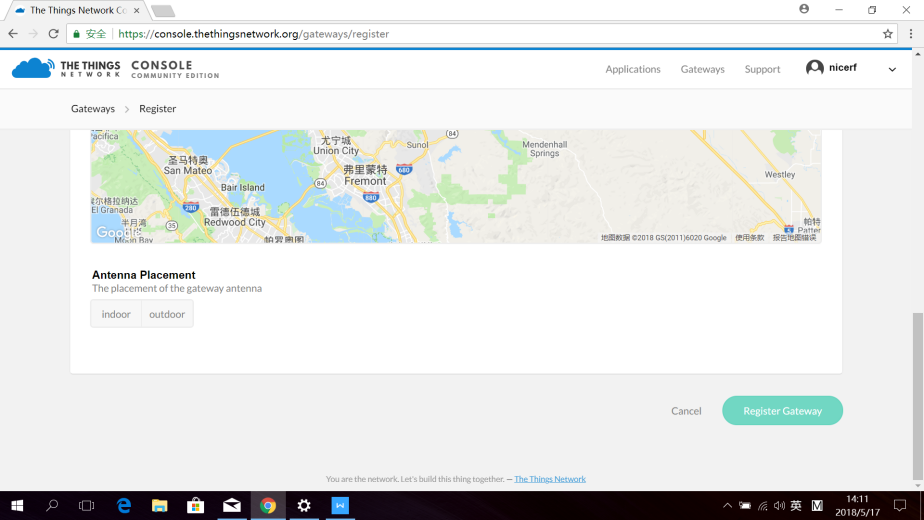
9. Click Register Gateway to finish register step.
10. If the LoRaWAN gateway is connected, we can see the state.
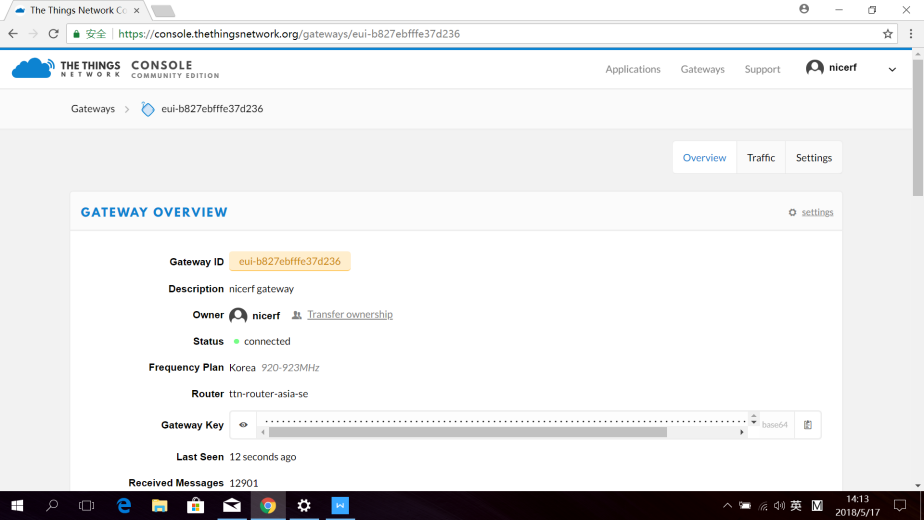
11. Power up the node, we can see the data update in the traffic page.
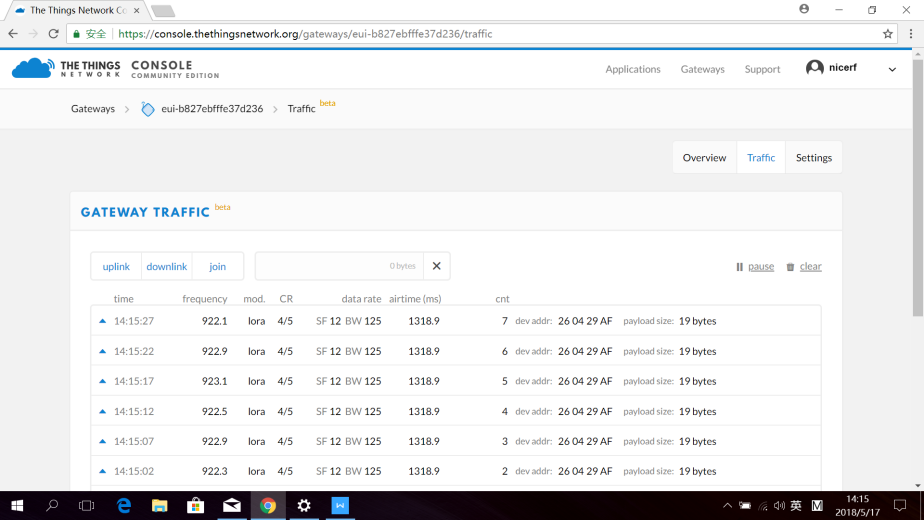
Register a gateway is done here!
After we register a gateway, we can create an application to process the data.
How to create an application to process data
1. Click Application turn to Application page.
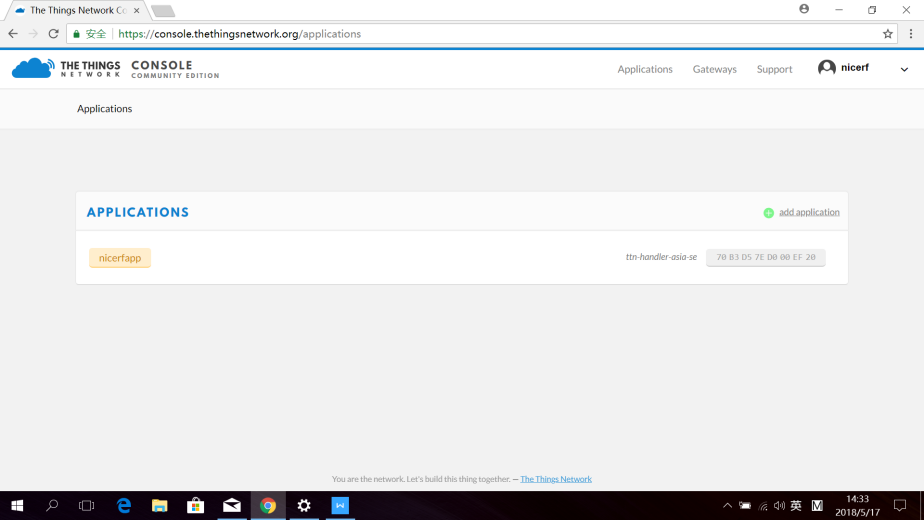
2. Click add application.
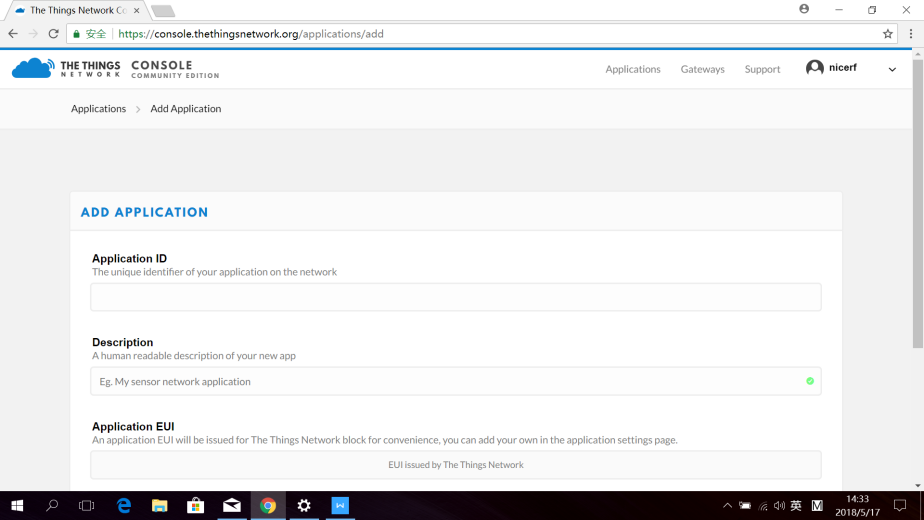
3. Input information as below.
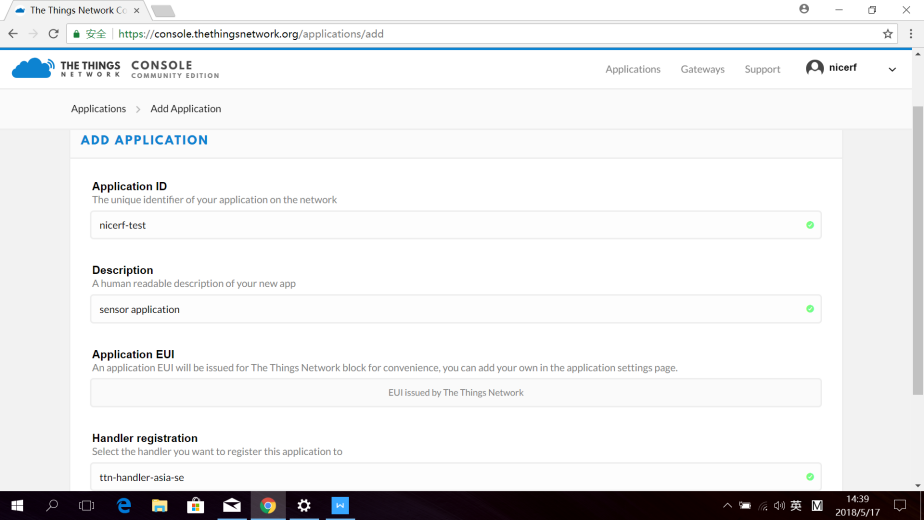
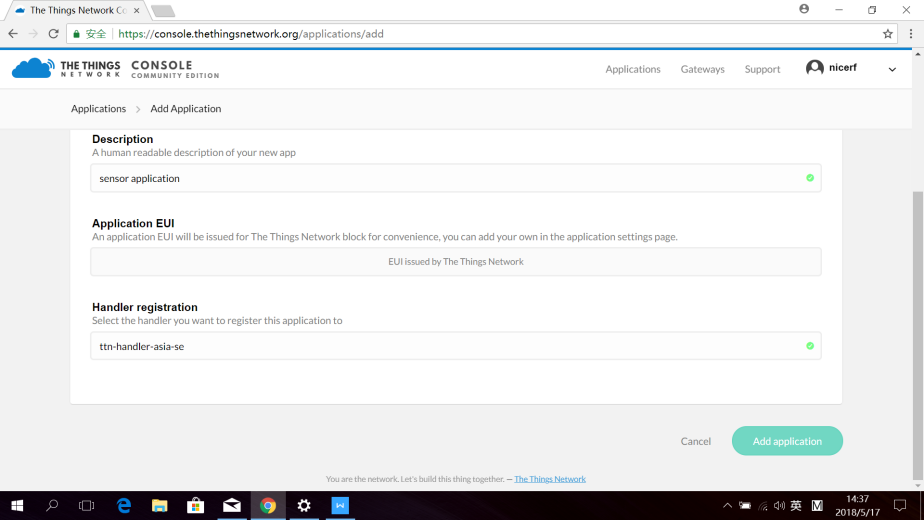
4. Select the Handler registration as your gateway configuration and click Add application.
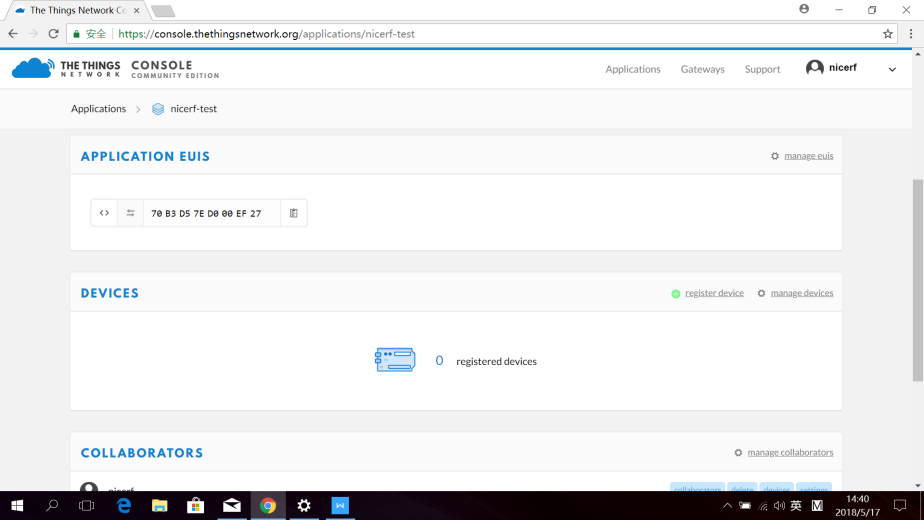
5. After add application, we need to register an device. Click the register device.
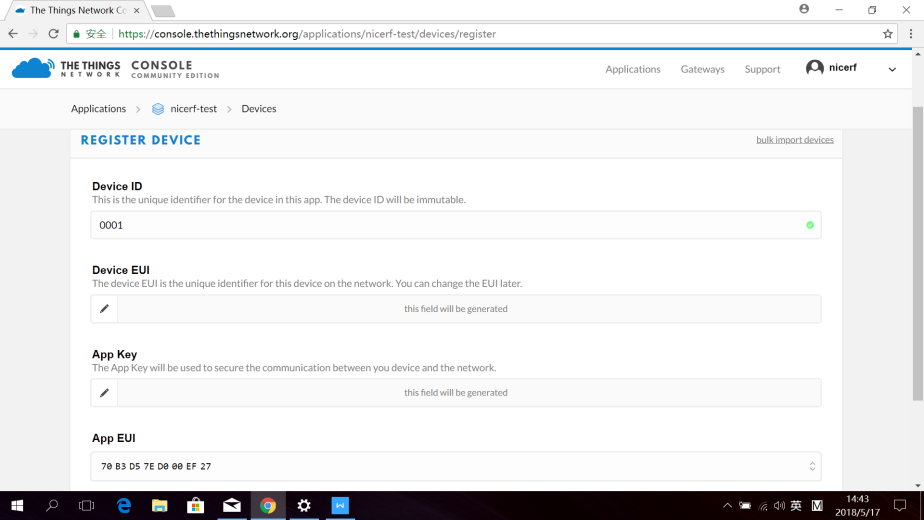
6. To register a device, we need two information of node
Device ID, we can just input an number;
Device EUI and App Key, we need to read it from the node. And change the App EUI of the node the same as the page.
Make the node change to config mode.
Use command DevEUI to read the Device EUI,
Send (hex): 24 01 00 25;
Reply (hex): 23 01 08 11 22 33 44 55 66 77 88 CS
Here 11 22 33 44 55 66 77 88 is the Device EUI for example.
Use command AppKey to read the App Key,
Send (hex): 24 03 00 27;
Reply (hex):23 03 10 01 02 03 04 05 06 07 08 09 0A 0B 0C 0D 0E 0F CS
Here 01 02 03 04 05 06 07 08 09 0A 0B 0C 0D 0E 0F is the App Key for example.
Input the two item, and Click register.
Don’t forget use the AppEUI Write (0x82) to change the AppEUI of node to make it the same.
Send (hex):24 82 08 70 B3 D5 7E D0 00 EF 27 0A
Reply (hex): 23 82 02 4F 4B 41
Normally, the node default to ABP, but this register is OTAA, so we need to change it to OTAA.
Use command OTA_activation Write (0x88) to change it.
Send (hex): 24 88 01 01 AE
Reply (hex): 23 88 02 4F 4B 47
Then exit config mode and restart the node.
7. After register
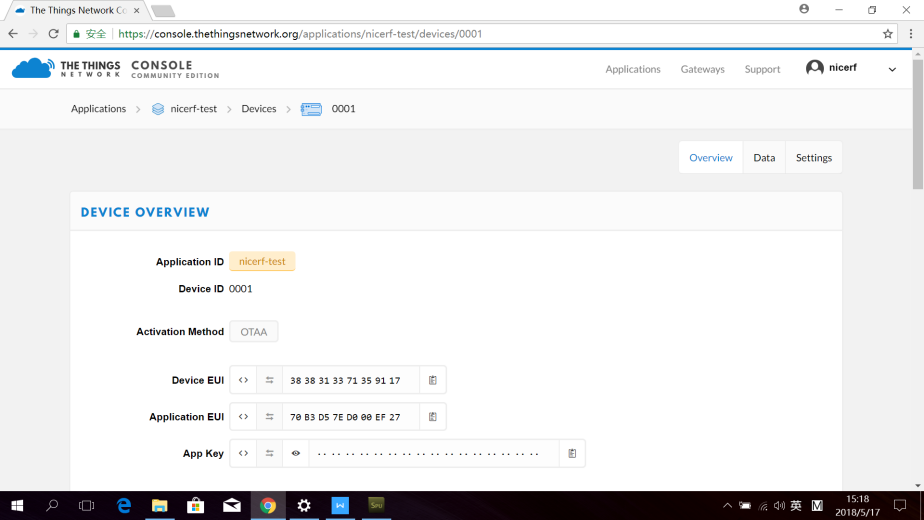
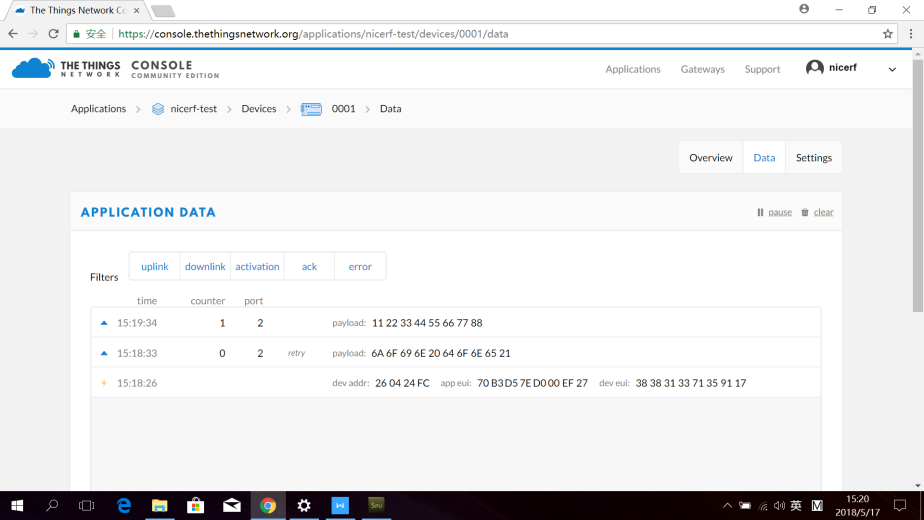
8. Click Datato see the data from node.
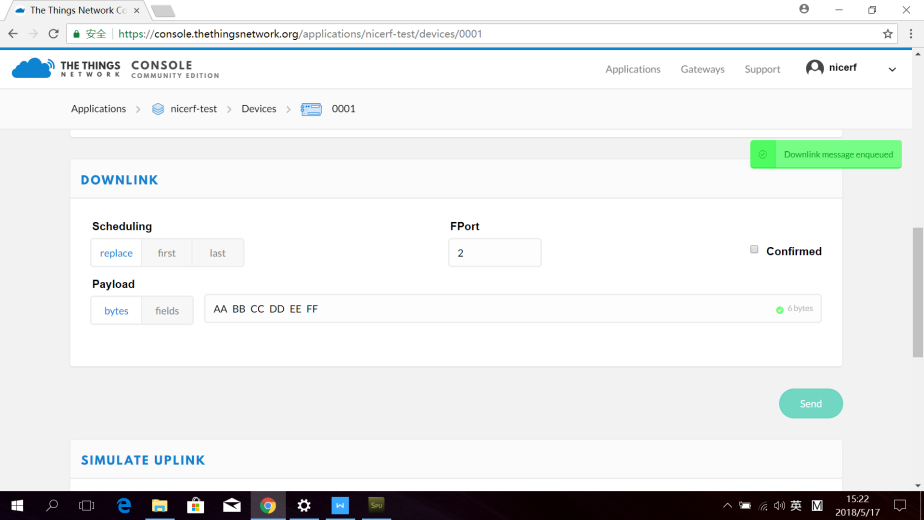
9. Back to Overview, below DOWNLINK input Fport to 2 , and input Payload, then click Send. It will enqueu the downlink message. When you send another uplink , the node will get this downlink.
10. The node got the downlink
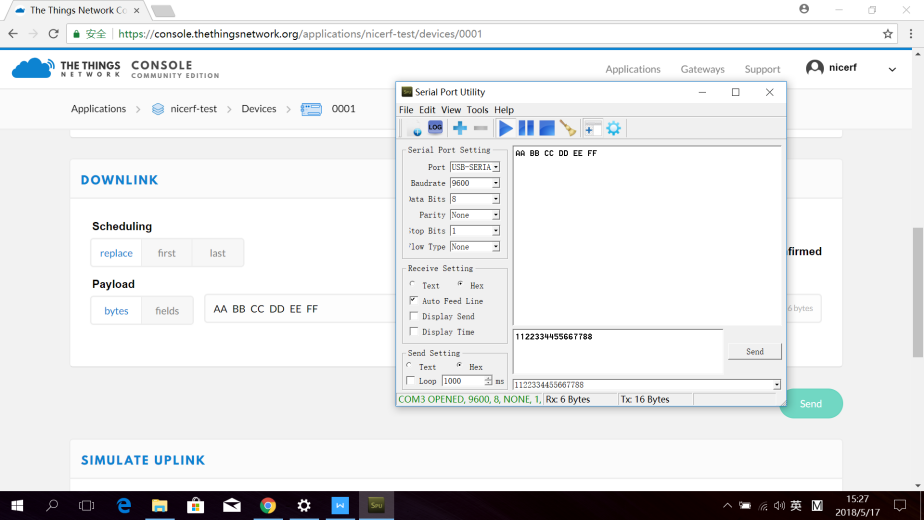
The demonstration of communication is done here! The actual application is depend on you!
 +86-755-23080616
 sales@nicerf.com
Website: https://www.nicerf.com/
Address: 309-314, 3/F, Bldg A, Hongdu business building, Zone 43, Baoan Dist, Shenzhen, China


 English


